How to Use Your IPad as a Monitor for Your Raspberry Pi
I have a Raspberry Pi 4, but every time I wanted to use it I needed to plug in the external monitor, keyboard, and mouse… It’s not a lot of work, but sometimes I wished there was a simpler way to start using it quickly. Recently, I found out a practical way to do it.
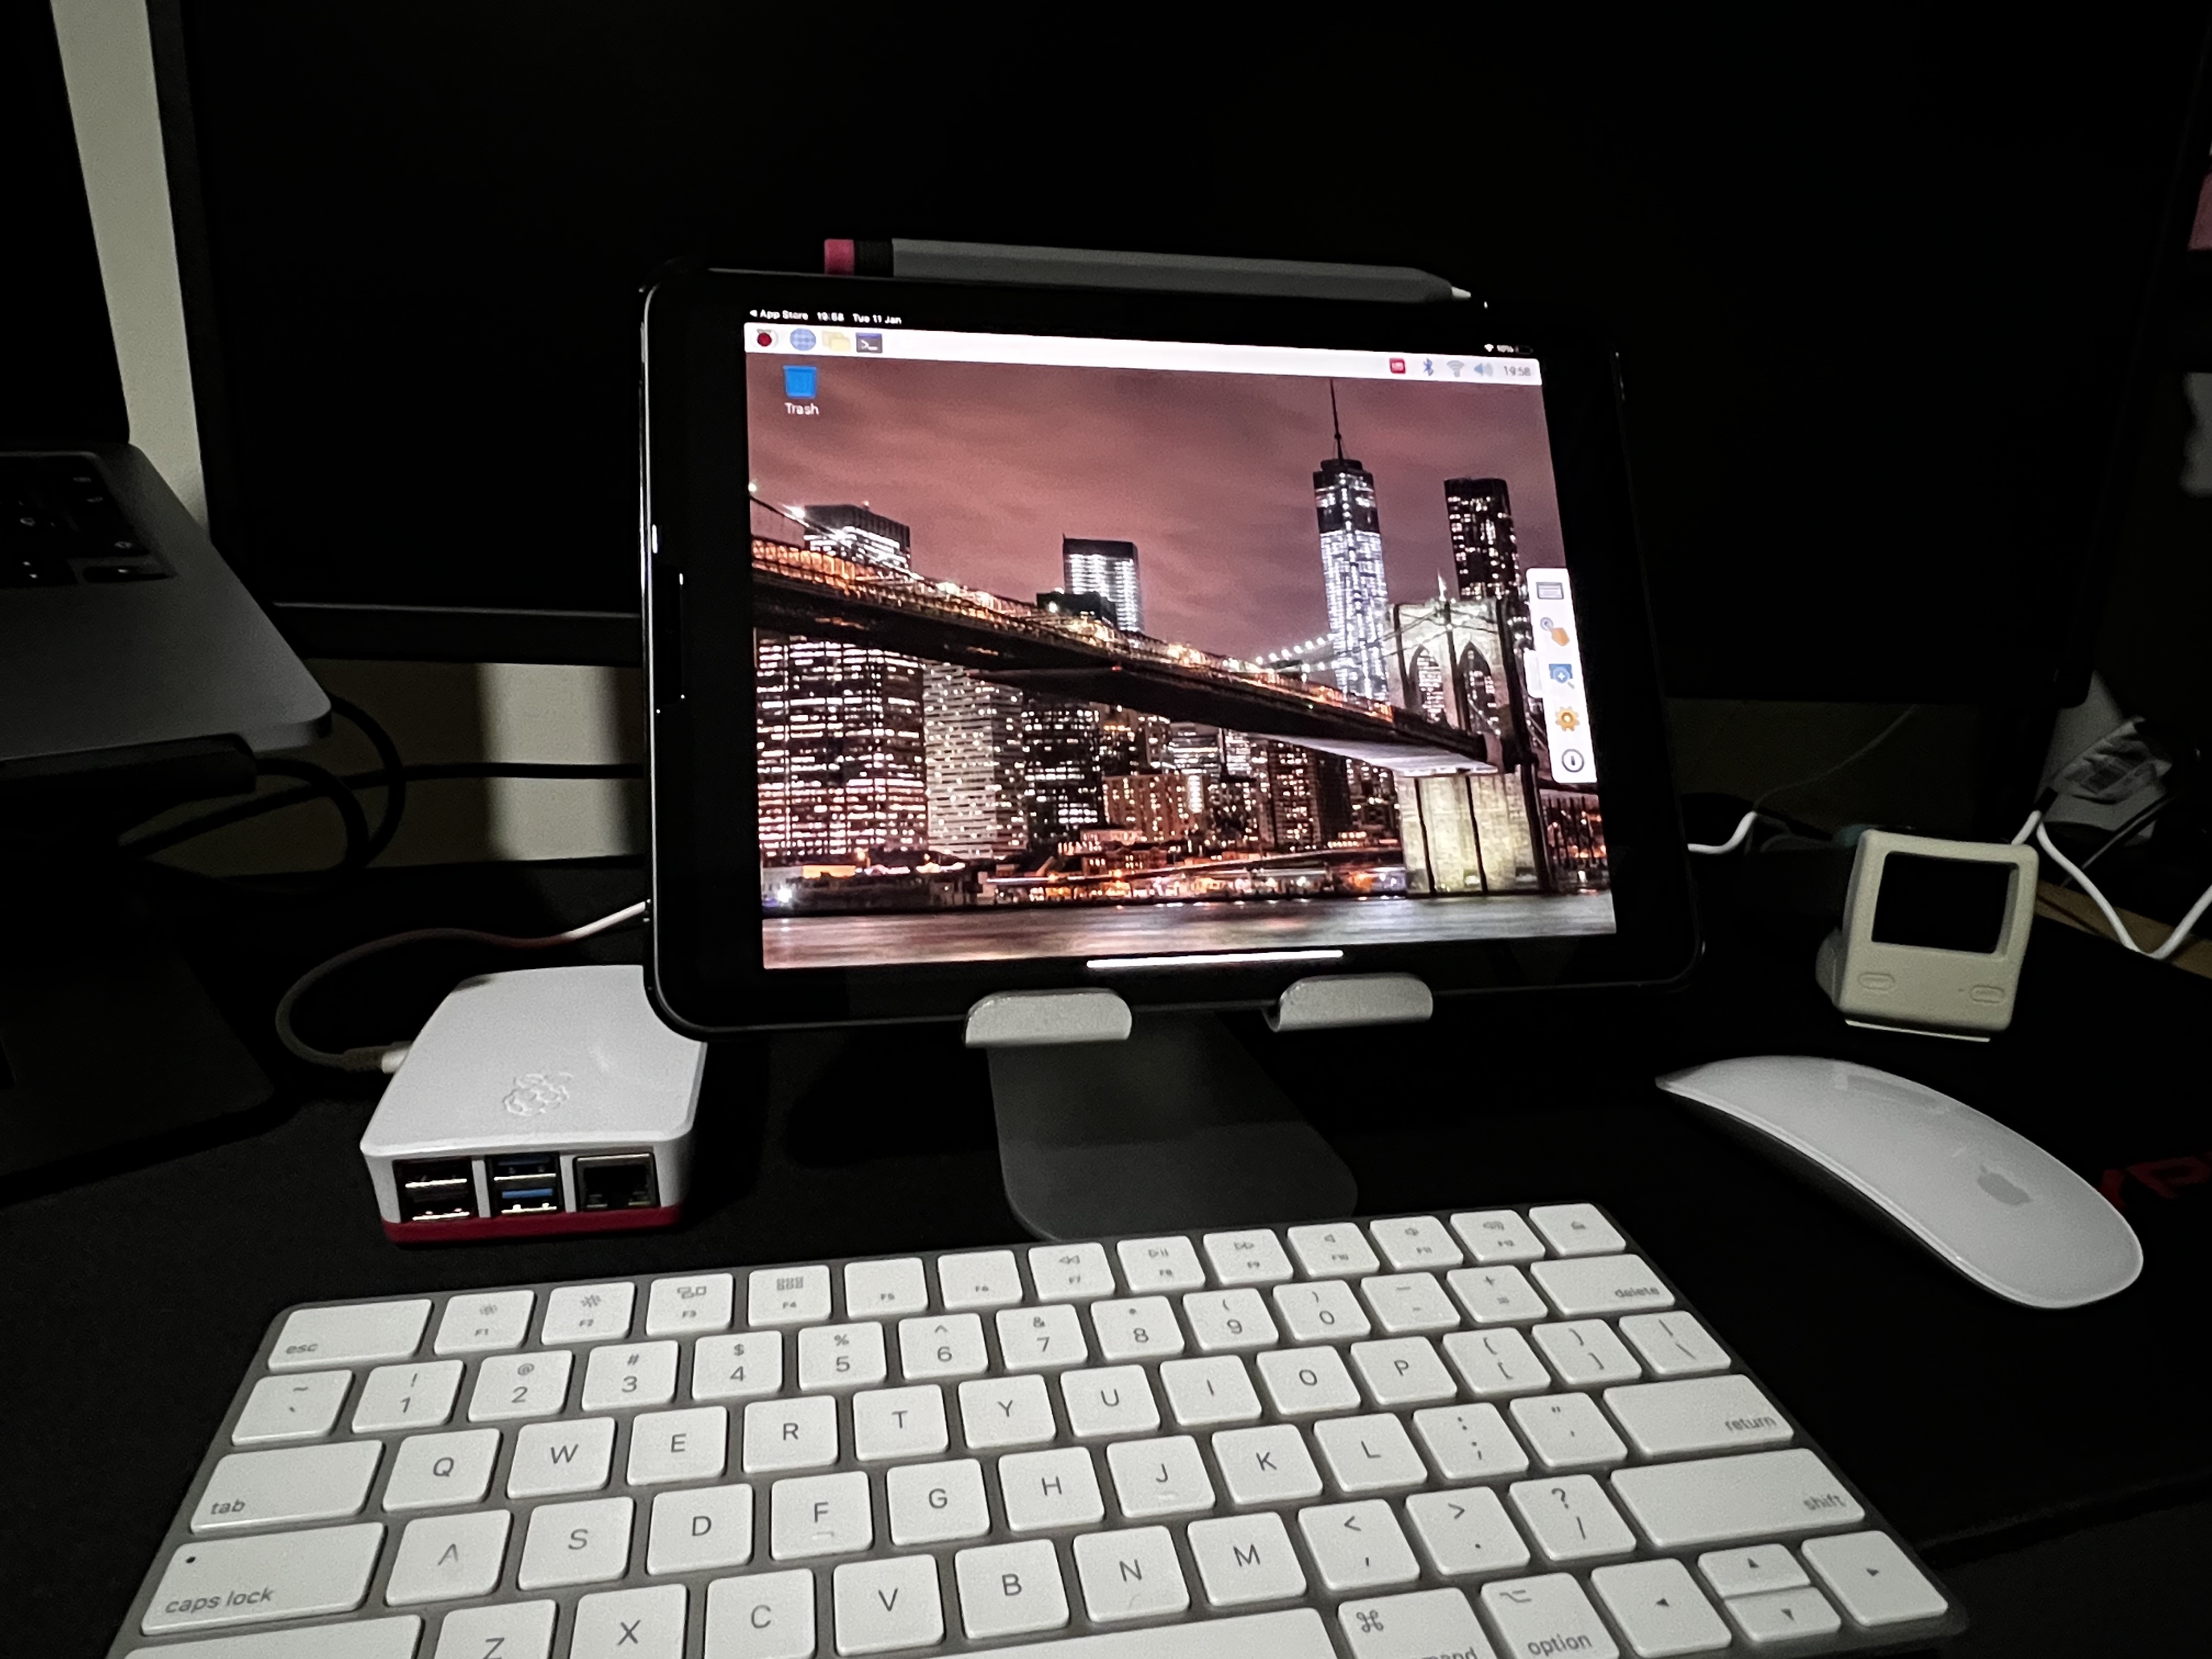
I already have an Apple setup, and I was thinking of ways I could use my existing setup seamlessly with my Raspberry Pi. In this article I’ll go through the steps to use an iPad as a monitor for Raspberry (with fully functional magic mouse and magic keyboard capabilities).
Raspberry Pi & iPad setup
Prerequisites
To complete this setup you will need the following tools:
- iPad
- Raspberry Pi (I’m using a Raspberry Pi 4) with Raspbian
- iNet App (iPad)
- Termius App (iPad)
- NoMachine (for both Raspberry and iPad)
Raspberry Pi Configuration
To setup the Raspberry Pi:
- Follow the steps to install Raspbian on Raspberry Pi if you don’t have it already installed
- Enable SSH server on Raspberry
Find your Raspberry Pi IP Address
To find your Raspberry Pi IP address, you can:
- Use Ping on your Raspberry to see its IP address
- Use iNet App to scan and show your network IP addresses
Once you have your Raspberry Pi IP address, copy it and save it for later.
Establish an SSH connection to the Raspberry Pi
To establish the connection between your iPad and your Raspberry Pi:
- Download Termius App on your iPad (or any SSH client of your choice)
- Create a new host:
- Use your Raspberry Pi IP address as Hostname
- You can leave the default Port 22
- Enter your Raspberry Pi Username as configured on your Raspberry Pi
- Enter your Raspberry Pi Password
- Save the new host and connect to it using your Raspberry Pi Username and Password
You now have a Terminal available to use your Raspberry Pi through the iPad.
Install the Remote Desktop
To install the Remote Desktop:
- Download NoMachine on your iPad
- Download NoMachine on your Raspberry Pi
a. You can download it and install it directly on your Raspberry Pi or
b. Use the Terminal available on your iPad:- Run
wget https://download.nomachine.com/download/7.7/Raspberry/nomachine_7.7.4_1_armhf.deb - Install it with:
sudo dpkg -i nomachine_7.7.4_1_armhf.deb
- Run
- Open the NoMachine app on your iPad
It starts scanning for available devices on your local network - Click the the Raspberry Pi icon when detected
- Click the Connect button
- Enter your Raspberry Pi Username and Password when prompted
- Click Ok and continue clicking Ok to go through the quick start guide
When the connection is completed you have now a view of your Raspberry Pi desktop and you can use it through your iPad controllers (touch or magic keyboard and magic mouse when available).